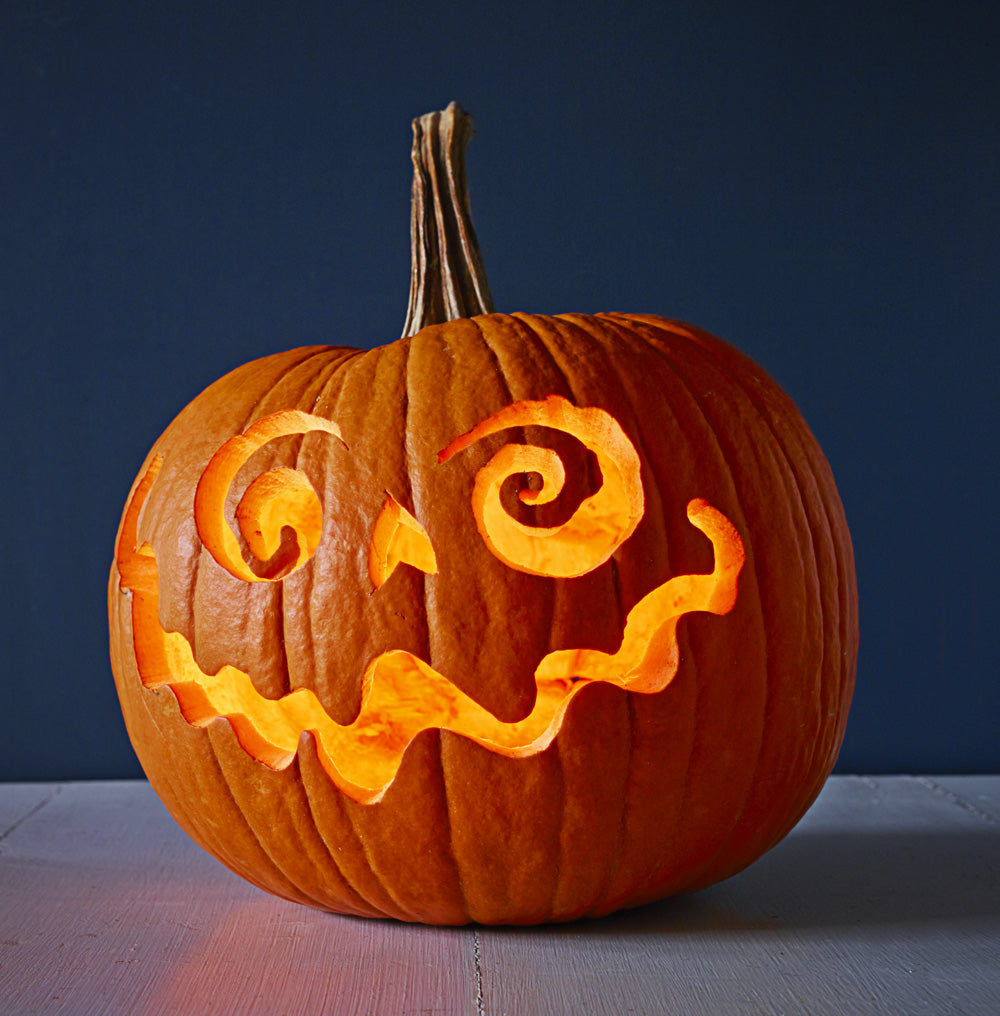

The joy of October is not only the changing of leaves, but the chance to get creative and carve pumpkins into any design you want! Here are our top 10 tips to create the perfect carved pumpkins!

1. Cut from the Bottom, Not the Top!
Michael Natiello, pumpkin carving pro, says cutting the "lid" from the bottom of the pumpkin helps prevent the sides from caving in later.
2. If you do carve from the top, cut out the lid on an angle.
This way it won't drop inside the pumpkin when you replace it, like it would with a straight up-and-down cut.

3. Scoop out all the pulp — and then some.
Use an ice cream scoop to scoop out all the pumpkin goop! Thin the inner wall of the "face" area to 1¼-inch thick, so it will be easier to pierce the shell.
4. Sketch out your design on paper first.
If you draw your jack-o'-lantern face to size, Natiello says you can use it as a pattern: Just tape it to the front of your pumpkin and use a fork or pencil to poke holes along the lines you want to carve.
5. Use Cookie Cutters for easy Shapes!
Use a cookie cutter to create quick and sharp looking shapes! Simply use a hammer to get the cookie cutter to go through the pumpkin skin.

6. Start by making simple rough cuts.
If you get the big pieces of pumpkin out of the way first, you can go back and clean up the edges of your design later.
7. Don't cut all the way through the skin!
Don't cut all the way through the skin, this lets the pumpkin glow all the way through rather than just near the bottom!

8. Keep your pumpkin fresh.
Spread petroleum jelly on the cut edges to seal in moisture. If your pumpkin still shrivels a few days later, you can revive it with a face down soak in cold water for up to eight hours.
9. Create a chimney.
First, leave the lid on for a few minutes while the candle burns. Then make a small hole where the lid has blackened. Or, save yourself the stress and go with battery-operated votives instead.
10. Sprinkle a little cinnamon inside the lid.
That way, when you light the candle, your jack-o'-lantern will smell like a pumpkin pie. Yum!
Hope you enjoyed all of these carved pumpkin tips! And if you need storage over Autumn, visit Room2Spare. We provide rooms and containers at Weston-Super-Mare for you to put in all your belongings.
If you want to see more blogs like these, follow us on Facebook, Twitter, and Instagram.